A Complete Guide to “rotmg how to shatters”: How to Conquer The Shatters Dungeon
Welcome, brave adventurer! If you’re looking to tackle one of Realm of the Mad God’s (RotMG) most challenging dungeons—The Shatters—you’ve come to the right place. The Shatters is widely regarded as one of the most complex, demanding, and exhilarating experiences in the game rotmg how to shatters. This guide will provide you with all the knowledge you need to understand the mechanics, navigate each phase, and ultimately come out victorious.
Realm of the Mad God is a permadeath MMO bullet-hell game, meaning any mistake in a tough dungeon like The Shatters can be costly. For many players, the challenge of The Shatters is exactly what keeps them coming back for more. However, the dungeon’s intricate phases, tight teamwork requirements, and relentless enemies can make it intimidating for new or even experienced players. By breaking down each section, this guide will walk you through the setup, techniques, and strategies to help you and your group survive and thrive. rotmg how to shatters
Introduction to The Shatters
What is The Shatters? The Shatters is a high-level dungeon in RotMG designed for players who seek a tough, team-oriented experience. Unlike simpler dungeons, The Shatters doesn’t allow for easy soloing and requires players to understand various phases, mechanics, and hazards. Success here relies on preparation, coordination, and a bit of patience. rotmg how to shatters
Why is The Shatters so difficult?
The Shatters isn’t just about rushing from one end of a map to another or fighting waves of enemies. It’s full of intricate puzzles, dangerous traps, and three distinct boss fights that each introduce new mechanics. You’ll need to navigate through different biomes with specific enemies, handle pressure from projectile-heavy attacks, and balance offense with defense throughout. The dungeon is broken into multiple phases, each one introducing new enemies and mechanics that require quick thinking and careful teamwork. rotmg how to shatters
Preparing for The Shatters: Equipment and Classes
Before diving into the specific mechanics of The Shatters, it’s important to be well-prepared. The dungeon requires a solid team composition and players with gear that can withstand the constant barrage of attacks. Here’s how you should gear up and organize. rotmg how to shatters
Recommended Classes
While any class can enter The Shatters, certain classes have significant advantages due to their utility, range, and survivability. Here’s a breakdown of classes that tend to do well: rotmg how to shatters
1. Paladin – Provides healing and damage boosts for the group. This is invaluable, as the buffs make the entire team more resilient and powerful.
2. Priest – The Priest’s healing abilities can be a lifesaver, especially when facing high-damage phases.
3. Warrior – Warriors bring high DPS and a team-wide Speedy buff that allows for faster movement through dangerous sections. rotmg how to shatters
4. Knight – With a strong defense and the ability to stun certain enemies, Knights are perfect for managing crowds. rotmg how to shatters
5. Necromancer – The Necromancer offers decent DPS and a self-sustain mechanic, allowing for an additional layer of survival. rotmg how to shatters
6. Sorcerer – Sorcerers bring range, which can be advantageous for targeting bosses from a safe distance. rotmg how to shatters
Essential Equipment
Aside from class choice, the right equipment is key to survival in The Shatters. At a minimum, you’ll want:
High-tiered weapons – Having weapons with high DPS will make it easier to defeat tougher enemies quickly, keeping the team safe. rotmg how to shatters
Defense-oriented armor – Prioritize defensive stats to withstand heavy attacks. Armor with HP bonuses is a plus.
Rings with health or defense boosts – Survivability is more important than sheer DPS in The Shatters. HP rings, such as the Deca Ring, are highly recommended.
Potions and consumables – Carry a supply of HP and MP potions to ensure you can survive tight spots.
Team Coordination and Communication
The Shatters is a group effort, and teamwork is essential. Unlike many other dungeons, where players can split up, The Shatters demands coordination to manage its mechanics. rotmg how to shatters
Assigning Roles
Before entering, assign roles to each player based on their class and skill set. For example:
- DPS Leads: High DPS players who can focus down targets.
- Healers: Priests and Paladins who can keep the team alive. rotmg how to shatters
- Tanks: Players who can absorb or mitigate high-damage attacks, usually Knights.
- Status Appliers: Classes that can apply crucial debuffs, like stun or curse, to enemies or bosses.
Communication is Key
If you’re playing with voice communication (recommended), establish a clear set of calls and alerts. Even if you’re relying on in-game chat, players should communicate before tackling key phases and enemies to avoid misunderstandings. rotmg how to shatters
Phase One: The Courtyard
The Shatters opens in the Courtyard, a labyrinth of corridors filled with enemies. This initial phase may feel overwhelming for new players, but it serves as a warm-up, introducing players to the types of hazards and enemies they’ll face. rotmg how to shatters
Navigating the Maze
Players will need to work together to find and eliminate key enemies, which are guarded by groups of minions. Focus on high-priority targets first, such as Stone Sentries and Elementals, which deal high damage. These enemies are often stationed near gates or hallways, so proceed cautiously. rotmg how to shatters
The Pressure Plates
To progress through the maze, you’ll encounter pressure plates. These must be triggered to open the path forward, but they’re often guarded by waves of enemies. Assign players to manage the mobs while another team member activates the plate. Watch for sudden ambushes as activating a plate may trigger additional waves of enemies. rotmg how to shatters
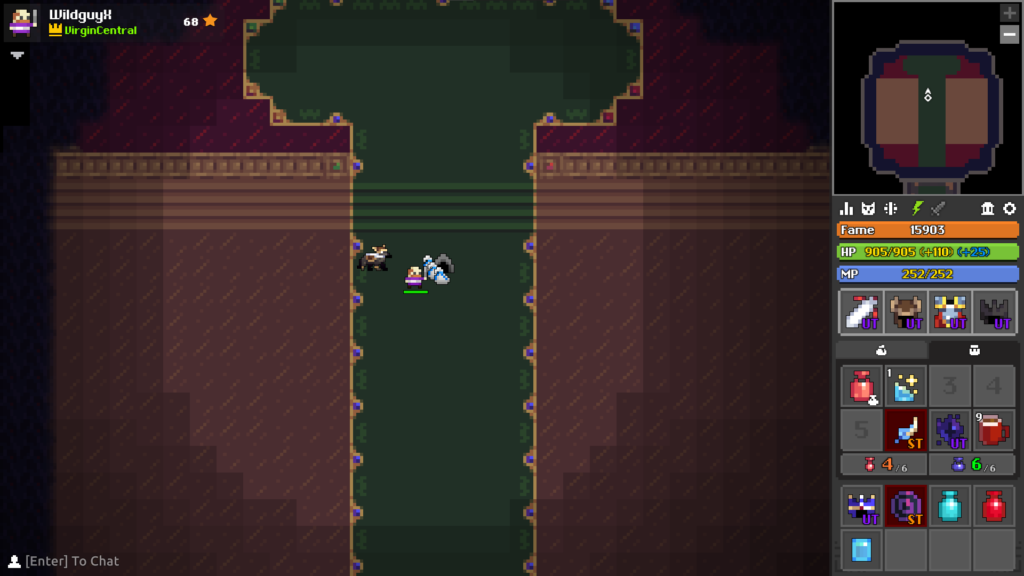
Phase Two: The Bridge of Doom
After the Courtyard, you’ll reach the Bridge of Doom, where the intensity ramps up. This phase is often one of the most challenging for newer players. rotmg how to shatters
Crossing the Bridge
The bridge is riddled with traps and deadly projectiles that must be avoided. Split your team into groups with different roles to tackle this phase effectively. Some players should focus on deactivating traps, while others handle incoming enemies. Movement is crucial here—stick to coordinated patterns, such as crossing one side at a time, to avoid getting overwhelmed. rotmg how to shatters
Enemies on the Bridge
You’ll encounter powerful Stone Paladins and Mages here. Paladins are tanky, while Mages fire projectiles that can pierce armor, making them priority targets. Coordinate with your team to eliminate these threats before moving forward.
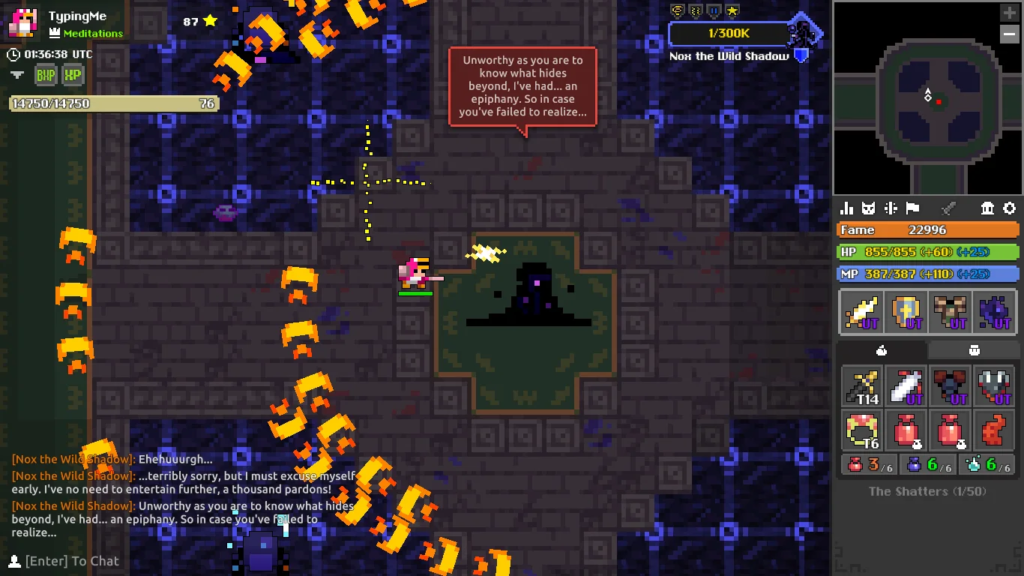
Phase Three: The Dark Spire
Next, you’ll reach the Dark Spire, where things get trickier. This phase requires players to deal with a mix of environmental hazards and enemy waves.
Managing the Dark Spire
The Dark Spire periodically releases waves of energy that can heavily damage or debuff your team. Assign players to watch out for these energy waves, alerting the team to avoid them. There are also Shadow Lurkers, which are stealthy enemies that can surprise and heavily damage players if not quickly dealt with.
Utilizing Safe Zones
Position your team strategically in safe zones around the Spire. These areas offer brief respite from attacks and allow healers to do their work. Moving from safe zone to safe zone helps avoid excessive damage and keeps the team organized.
Phase Four: The Marble Colossus
The Marble Colossus is the first true boss of The Shatters. This hulking figure is formidable and requires careful attention to patterns and phases.
Key Mechanics
The Marble Colossus has several dangerous attacks, including sweeping laser beams and explosive shots. The boss periodically spawns minions, which must be quickly cleared to prevent them from overwhelming the team. Timing is essential; don’t attack recklessly—observe its attack patterns first.
The Best Strategy for Success
Stay at mid-range to avoid the most intense damage zones. Priests and Paladins should focus on healing, while high-DPS classes target the boss during openings. Keep an eye on its health phases, as it will change tactics halfway through the fight, requiring the team to adjust their positioning.
Phase Five: The Archmage of the Lost Lands
The Archmage is the second major boss of The Shatters and introduces new mechanics that force players to stay alert.
Key Mechanics
The Archmage summons orbs that cast status effects like paralyze, weaken, and slow. These effects can incapacitate players, so it’s vital to dodge them whenever possible. The Archmage also teleports, creating brief moments of vulnerability. When he does this, it’s a good opportunity for the DPS players to hit hard and bring down his health.
Staying Agile and Adaptable
Keep your distance and avoid clusters. The Archmage’s teleportation and status effects require the team to stay nimble and spread out, as clustering makes it easy for the boss to affect multiple players at once.
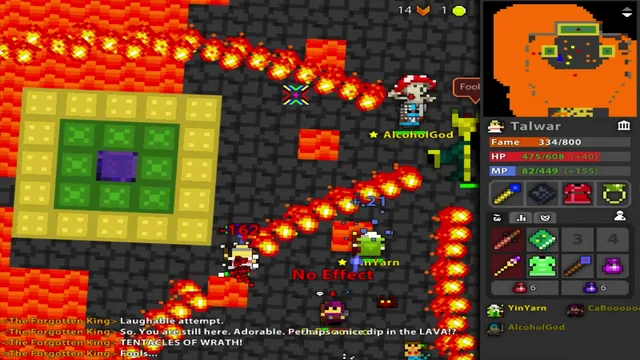
Phase Six: The Forgotten King
The final boss of The Shatters is the Forgotten King, a multi-phase boss that combines the mechanics of the entire dungeon into one epic showdown.
Key Mechanics and Phase Transitions
The Forgotten King has several phases that incorporate elements from earlier in the dungeon. At various points, he will summon waves of enemies, use large area-of-effect attacks, and even create zones that cause continuous damage. This fight requires patience—rushing in is a surefire way to lose players.
Staying Focused Under Pressure
Position your team in formations that allow healers to provide continuous support while DPS players chip away at the boss. Call out each new phase as it begins so that players can prepare for the unique attacks associated with each part of the fight.
Tips for Success in The Shatters
The Shatters isn’t just about brute force; it’s about strategy, coordination, and perseverance. Here are some additional tips to help you achieve victory:
- Stay calm – Panicking can lead to poor decisions and unnecessary deaths.
- Trust your team – Communicate openly, rely on your healers, and follow your leaders.
- Learn from mistakes – Each failure provides valuable lessons.
- Keep a consistent strategy – Changing strategies mid-run can lead to confusion.
- Watch your health – Don’t be afraid to fall back and heal up if necessary.
Conclusion: Conquering The Shatters
The Shatters is an intricate, exhilarating dungeon that pushes the limits of teamwork and skill in Realm of the Mad God. While daunting, it offers some of the most rewarding experiences and loot in the game. With the right preparation, patience, and teamwork, you and your group can conquer The Shatters and emerge victorious. Remember, every great accomplishment in RotMG comes with persistence, so keep practicing, learning, and enjoying the journey. Now, gather your team, prepare for battle, and venture forth! The Shatters await you.